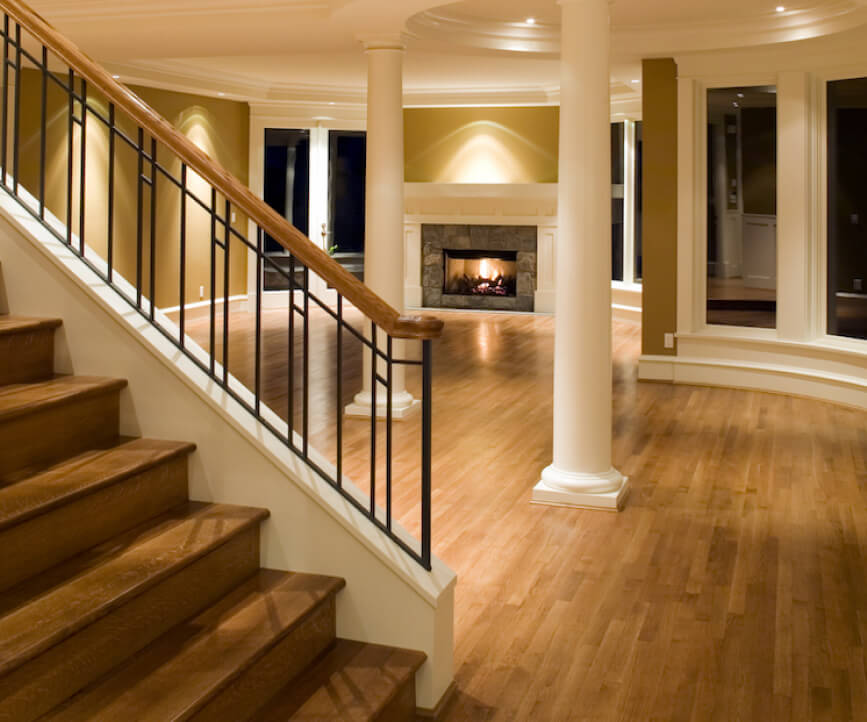
Engineered hardwood flooring installation

Block hardwood is one of the most durable and beautiful coverings, but its cost is high, it is very demanding on operating conditions, and modern technologies have proposed a replacement — an engineered board. Installation of hardwood from an engineered board has advantages — the price per m2 is lower, installation is easier, and it is less demanding for the indoor microclimate. In the article, we will consider in detail all the characteristics and features of working with this material.
What is engineering hardwood and its features
Engineered hardwood is a two or three-layer high-tech material. The top layer is made of valuable wood species up to 1 cm thick, glued with 1 or 2 layers of plywood, and the wood fibers are arranged perpendicularly to exclude possible deformations due to moisture changes. The total thickness of the plank is 12 … 20 mm, with a length of up to 60 and a width of 12 … 45 cm.
At the edges of each lamella, for simplification and reliability of laying during the production process, connecting parts are formed in 3 variants:
1. Groove-comb — for mechanical or adhesive fastening

2. Click-lock lock — when installing a floating floor

Features of engineering hardwood:
- versatility — suitable for use in different conditions;
- durability — the thickness of the top layer allows for 3-4 grinding, bringing the service life to 25 years;
- strength — the structure with a perpendicular arrangement of layers withstands high loads;
- attractive design — different wood colors, textures and finishes present a wide range of choices;
- ease of installation — the connection of the strips to the groove-tenon makes it possible to self-lay the covering.
Unfortunately, there are two significant drawbacks:
- the popularity of the material has led to the emergence of a large number of fakes of low quality, therefore it is worth buying it directly from the manufacturer or contractor — an official dealer of the woodworking company;
- quite high cost — the price per m2 of some types of engineering hardwood is not much inferior to traditional board.
Fastening of hardwood boards is performed in 4 variants:
On glue
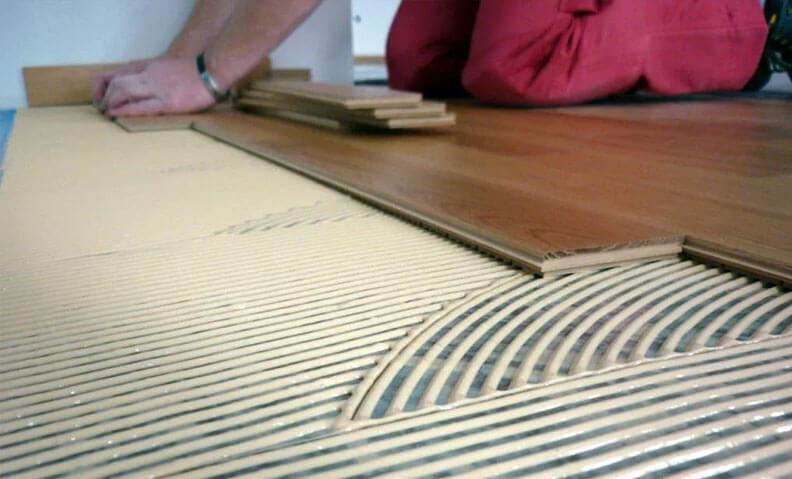
For fasteners
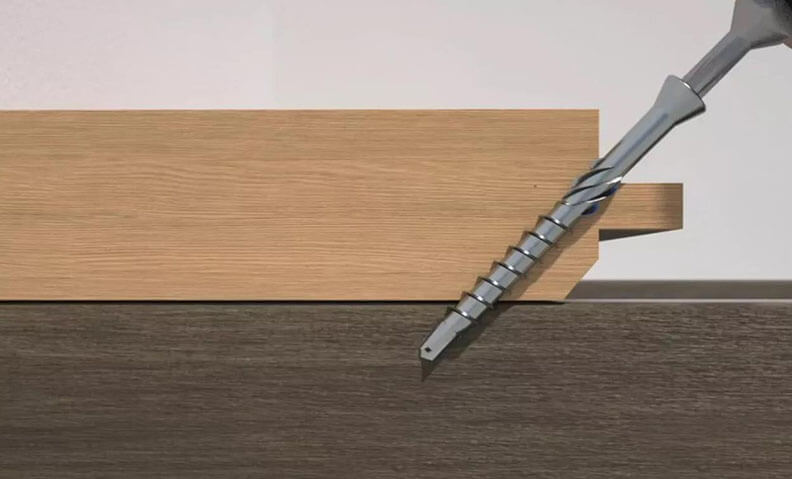
Combined glue / fasteners

Floating

Manufacturers do not recommend the installation of engineering hardwood on bulk gypsum floors, warm floor, cork backing.
Styling materials and tools
Styling materials and tools
Materials
When laying on a leveled concrete base, you will need:
- primer for glue;
- glue, consumption per m2 is indicated in the manufacturer’s instructions;
- damper tape around the perimeter of walls or wedges;
- engineering parquet based on the area of the premises plus 10% for trimming and waste.
If the room has a complex configuration with ledges, niches, and a bay window, then the consumption of lamellas will be greater, as in the case of herringbone laying.
If the subfloor is not too flat, or you need to mount the floor along the logs, then you additionally need to buy moisture-resistant plywood 10-10 mm thick in the area of the room and dowels for fixing it.
Required tools for engineered hardwood flooring installation
For work you will need:
- electric saws — circular and end, hacksaw for wood;
- grinding and scraping machines, sandpaper;
- construction vacuum cleaner;
- screwdriver and drill with different attachments;
- hammer, mallet, chimney;
- notched trowel;
- bakeware or roller;
- fasteners — screws, dowels;
- level, measuring tape, square, marker.
Engineered hardwood flooring installation process step by step with descriptions of each step
Work on the installation of flooring can be carried out in a heated room at temperatures above 18 ° C to 20 ° C or in the warm season. The materials must first undergo acclimatization — they are kept indoors for 3-4 days. If drywall was mounted in the room before the floor was installed, the walls were plastered or putty, then the exposure period is increased to a week. All wood materials should have a moisture content of no more than 8%.
Before starting work, draw a plan of the room with the layout of the panels.
The direction of laying is chosen by the customer, but in elongated rooms it is recommended to mount the lamellas across, with a diagonal hardwood consumption increases by 15-20%.
Along the walls, it is necessary to leave a gap of 10-12 mm for deformation, using wedges or a special damper tape.
1. Preparation of the base for engineered flooring installation
When replacing an old floor, it is necessary to dismantle skirting boards, floor sockets, and other protruding elements.

If the engineered hardwood flooring installation is carried out on an existing plank, the specialist will check the evenness of the subfloor and the quality of the anchorage. In places of a weakened covering, if there is a creak, each board must be fixed to the log with a self-tapping screw, drowning the head flush.
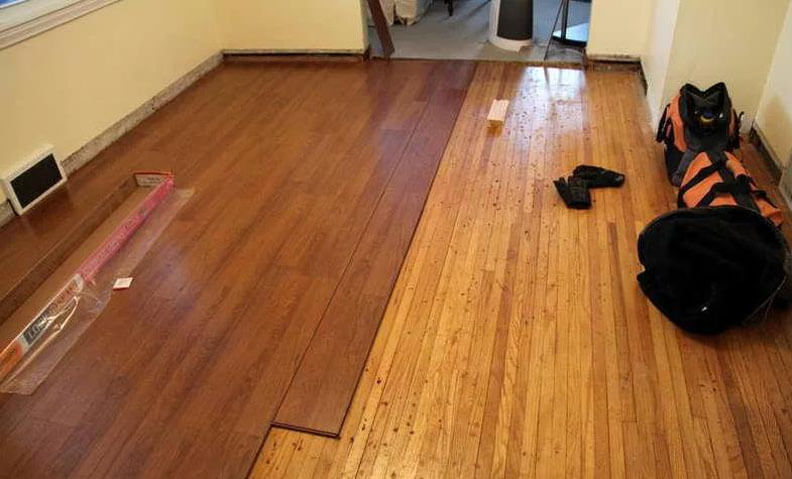
The plywood base is fixed with dowels in increments of about 30 cm.

Check evenness with a laser level or a 2-meter rule.
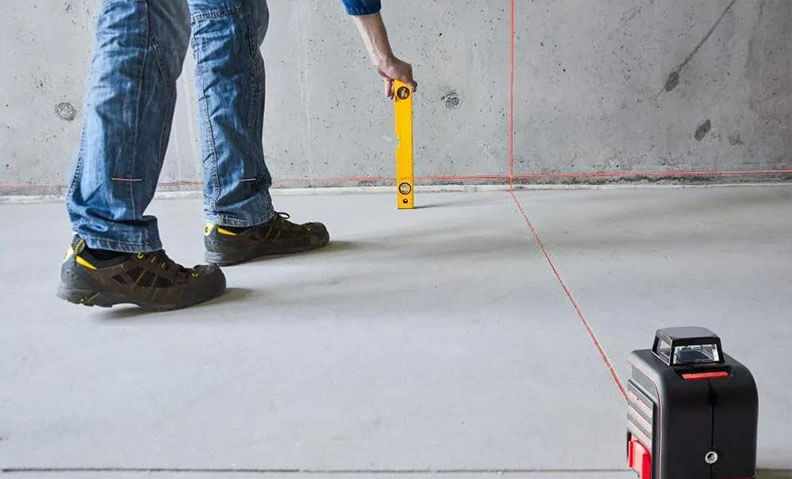
If necessary, the projections are polished with a belt sander, depressions larger than 3 mm are filled with putty, and after drying they are sanded.

The opening of the door leaves is checked by substituting a lamella. If necessary, the door and platbands are cut from below.

The leveled subfloor is cleaned of debris and dust is removed with a vacuum cleaner.

Under the glue method of laying, the surface is primed with a primer.
2. Engineered flooring installation
Laying of engineered board is carried out in accordance with the lined scheme. The lamellas are pruned.
Install spacer wedges or attach a damper tape with a stapler.

The adhesive is applied, spreading over the surface with a notched trowel.

Work starts from the far corner.
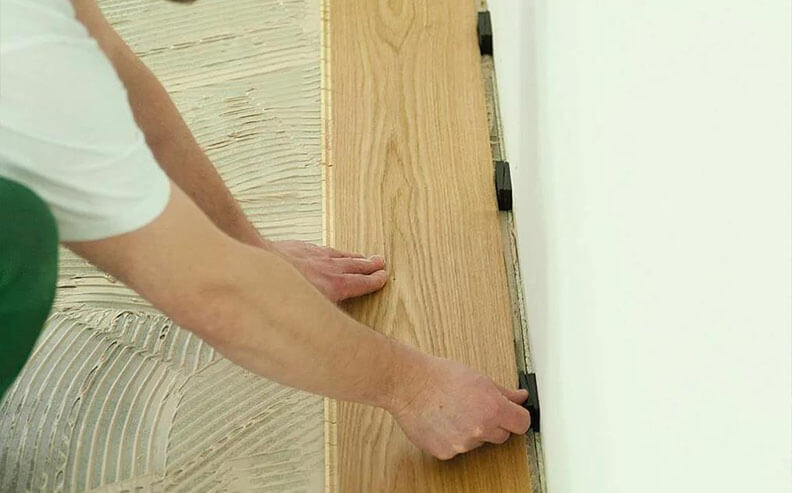
The second row is laid so that there are about 1/2 lamellae between the joints of the previous row.
